
Ok, it's probably so weird that I'm posting this. But the reason why I'm doing it is because it was the hardest and longest DIY project in my life (not that I had many...).
In Autumn my sister told me that she was pregnant and of course I knew that I had to give her something for a baby shower. Me and my boyfriend couldn't come up with the right gift idea for 2 months, and then I suddenly remembered that I saw this diaper cake picture a year ago, so I made a research and instead of buying it, I decided that I can do it myself...well, of course with a help of my boyfriend.
The reason why I chose doing it myself, is that I can stuff it with the things that I want and my sister actually needs, and it also turned out to be cheaper.
Now let's get to the project itself!
What will you need:- Diapers
- Rubber bands in different sizes
- Cake platform
- Stick, same hight as the cake
- Ribbons
- Glue gun
You will also need any baby stuff that you want and probably lot's of free time!
I wanted this cake to be big enough, so I got 2 packs of 43 diapers. And as for baby stuff, I got: some clothes, blanket, a pair of shoes, toy, pacifier and pacifier holder.
Tipp: ask someone who has a baby for the brand that sells white diapers, coz when I got these, they turned out to be colorful, and I really wish they were white.
Tipp: ask someone who has a baby for the brand that sells white diapers, coz when I got these, they turned out to be colorful, and I really wish they were white.


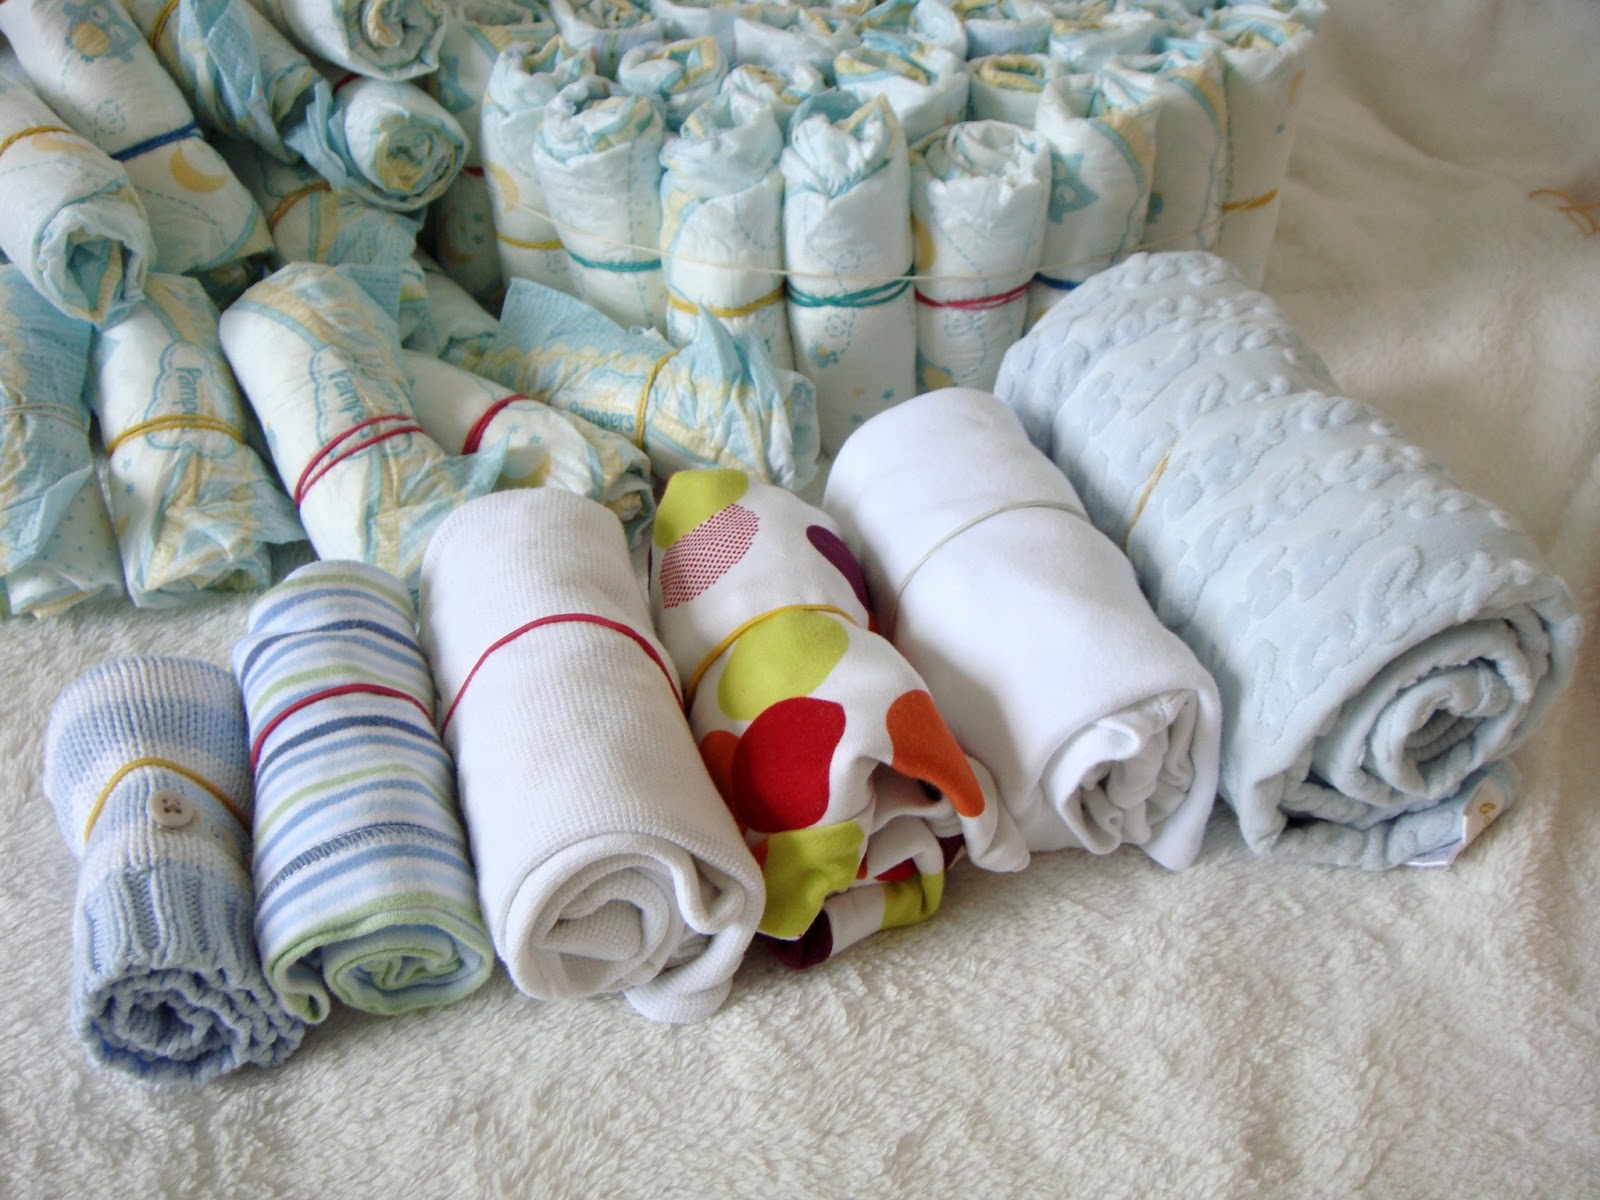
Take the diapers out of the package and start rolling them. Then tie them with the rubber band

Check whether you want the rolled diapers to be slim or the usual and tie the rubber band twice or once depending on how you want it to be. I tied twice for the first tire and for the second and third only once.

Then take few of them together and put a bigger rubber band around them, then start putting more diapers in and create a circle. The important thing is to try to put all the rubber bands in the same place, coz we'll be covering them with ribbons later.


Roll the clothes the same way you did diapers. and try to make it the same height.
After you done with first layer, pull out some diapers and put the clothes inside them.

Ok, now that you are done with first tire, I'm gonna give you an idea what to do if you haven't found cake platform.
It took me 1 week to find something suitable, but as I couldn't find, my boyfriend suggested to should keep some pizza boxes after we order it. That's weird, but it was actually a great idea!

So after the first tire was done, we measured it and my boyfriend started to cut the boxes up and glueing it together, so it will be hard enough to carry a cake (it's not as light as you might think)

And to make it look pretty, he covered it with the wrapping paper.
And as you can see it turned out to be really good looking!


Back to cake: make the second and third tire the same way as the first one.
And to make sure tires don't move incert a stick right in the middle of the cake.


The cake is ready itself, however now you have to decorate it. The important thing is that you need is wide ribbon, to cover all the rubber bands, and everything else is totally up to you!

I personally spend few hours sewing the bows and putting it all together, however it turned out just the way I wanted it to be. It takes a lot of time, so if you think you can't do it, I do suggest you to buy ready bows or any other decorations.


If you're done with decorations, it's time to put it all together.
wrap the ribbon around each tire, make sure it is in the right place and it should be pretty tight, use pins to hold them and then glue it


Well, the cake is ready! The last thing to do is to make sure, everthing is neat and pretty ;)


I hope you enjoyed this DIY and tell me what do you think about it!
Wow. It's so cute! And I think it's a really nice gift. :)
ReplyDeleteGreat great blog.Predlagayu follow each other. If you agree to let me know in a comment on my blog! Follow me and I'll follow you right away.
ReplyDeletehttp://beautyselective.blogspot.ru/
this is such a cute idea for a baby shower! Love it! xx
ReplyDeleteThis is very lovely and the most creative DIY I've ever seen.
ReplyDeleteThat's sooo cute! Love this idea!
ReplyDeleteKisses,
Teodora
http://e-befashion.blogspot.com/
Register on EverydayFamily NOW and you will receive stage by stage pregnancy and baby newsletters, promotions and weekly coupons as well as free baby samples, coupons, baby magazines & more.
ReplyDeleteNew Members Can Win Free Diapers for a Entire Year!